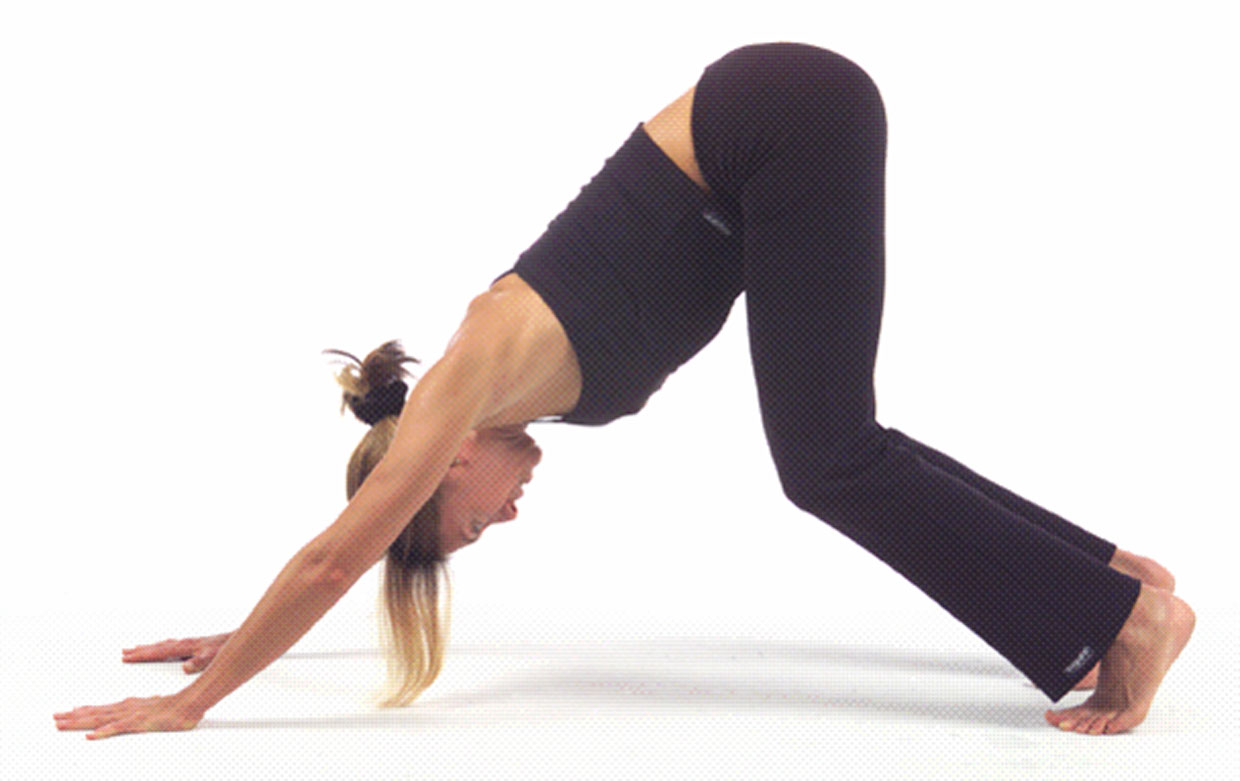
Downward facing dog is one of the most common yoga poses, and it would be pretty rare to have a class without it, for many reasons. It’s one of the best overall body stretches you can do, as well as strengthening key muscle groups, and helping to reduce stress and anxiety.
So if you’ve been doing yoga for more than 10 minutes of your life, more than likely you’ve been told to ‘relax back into downdog.’ However, when I started yoga, I was anything but relaxed in downdog, I felt frustrated every time I did it, and it nearly stopped me from continuing to practice yoga. I remember in an early class when the teacher told us to ‘relax here for five breaths’ I felt like saying ‘Are you frickin’ kidding me, lady?!’
So if you are new to yoga and not loving this pose, here are the 3 simple changes I made to start loving this pose and lap up all the juicy benefits…
- Feel it, don’t force it
When I first started this pose, I felt like this was some sort of contest to get my heels to the floor. I constantly compared my body to the yogis around me and tried desperately to mirror them, usually with shaking muscles and increasing frustration, not to mention constant hand-slip… Needless to say, I was not feeling very zen. I was forcing it.
Next time you’re in this pose, bend your knees, close your eyes and feel it out. Forget whatever image you have in your head, or in the class with you, and take the time you’ve been given to find enjoyment in the pose. When you tense and force your mind, your muscles will do the same. Find just one thing that feels good, and notice the effect it has on your body and your mind in this pose.
- Jazz hands
When I started this pose, my wrists felt really strained every time I entered the pose because I was using the heels of my wrists as the main support for my body.
If you’ve found this too, start in all fours on your mat with your wrists in line with your shoulders. Press into the place where each finger meets your wrist. Then stretch out your fingers so they are wide apart (think jazz hands) and press the under-side of each knuckle into the mat. Keep this engagement as you raise the hips up into downdog. If your hands get sweaty and you lose this engagement by slipping and sliding (which happens to me a lot!) bring along a towel for your hands so you can fully push the mat away without slipping and sliding.
- Tail of the dog
When I started yoga, I would round my spine which put a lot of extra pressure on my shoulders and closed over my chest, which felt uncomfortable and strained. I was also totally missing out on a nice juicy stretch for the lower spine, and the full lengthening of my hamstrings.
Instead of rounding the spine, think of an actual dog in this pose. Push the floor away with your hands and imagine a tail spurting out at the bottom of your spine. Bend your knees. Now gently and slowly lift your tail as if you were pointing it up to the ceiling. Feel for length in your spine as you do this and you will start to understand why dogs do this stretch so often!
Try out these simple tips when you next step onto your mat and see if you can start to lap up the benefits of downward dog – comment below to let me know how you get on.
If you already love this pose please tell us what you love about it so we can all get more out of our downward dogs.